Essential Guide to Wheel Bearings
Essential Guide to Wheel Bearings Replacement: Steps & Tips
Replacing wheel bearings can enhance your vehicle’s performance and safety. Discover essential steps and tips in our comprehensive guide!
Understanding Wheel Bearings: What They Are and Their Importance
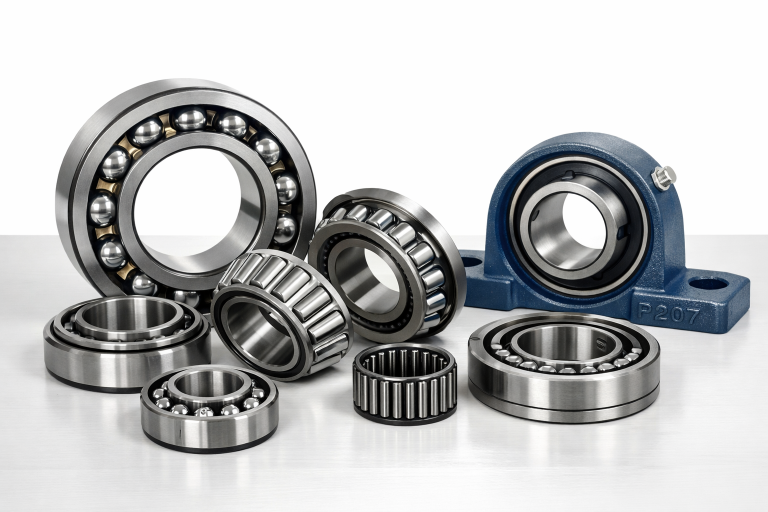
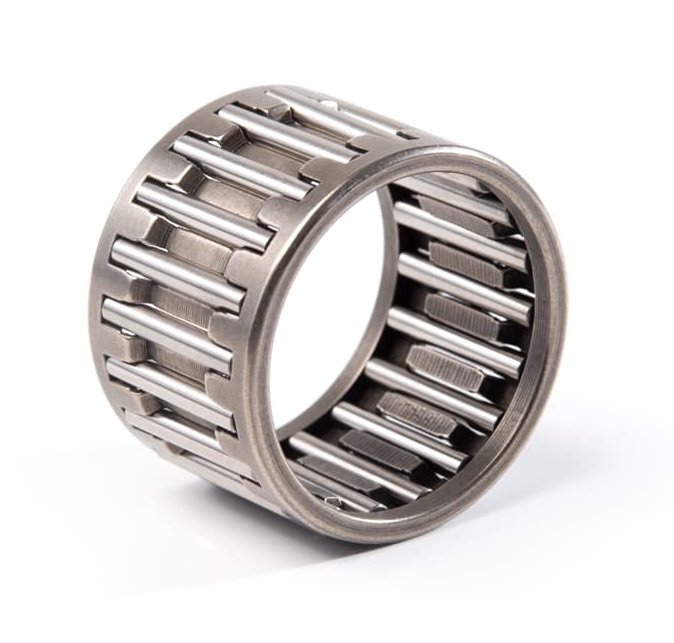
Wheel bearings are integral components of your vehicle’s wheel assembly. Essentially, they are sets of steel balls or rollers that are held together by a metal ring. They allow your wheels to spin with minimal friction, which is crucial for smooth and efficient driving. Without properly functioning wheel bearings, your vehicle would struggle to move, resulting in a less comfortable and potentially dangerous driving experience.

A complete wheel hub and bearing assembly. Photo: Cschirp, CC BY 3.0, via Wikimedia Commons.
The importance of wheel bearings cannot be overstated. They support the weight of the vehicle and absorb the stress caused by driving over uneven surfaces. Moreover, they facilitate the turning of your wheels, ensuring that your vehicle can move forward with ease. Properly functioning wheel bearings contribute to better fuel efficiency, as they reduce the amount of friction the engine has to overcome when propelling the vehicle.
Neglecting wheel bearing maintenance can lead to severe consequences, including reduced vehicle performance, increased tire wear, and even wheel detachment. Therefore, understanding the role of wheel bearings and keeping them in good condition is essential for maintaining the safety and performance of your vehicle. Regular inspection and timely replacement of worn-out wheel bearings can save you from costly repairs and ensure a smoother, safer ride.
Signs of Wheel Bearing Failure: How to Identify Issues
Identifying wheel bearing issues early can prevent more severe problems down the road. One of the most common signs of a failing wheel bearing is a persistent, unusual noise coming from your wheels. This noise can manifest as a humming, grinding, or roaring sound, and it typically increases with speed. If you notice such noises, it’s crucial to have your vehicle inspected promptly to determine the source of the problem.

A used wheel hub showing the axle nut and cotter pin. Photo: Polyparadigm, CC BY-SA 3.0, via Wikimedia Commons.
Another indication of wheel bearing failure is uneven tire wear. Since wheel bearings play a vital role in maintaining the alignment and smooth rotation of the wheels, any issues can lead to irregular tire tread wear. If your tires show signs of uneven wear, it’s essential to check the wheel bearings along with other components such as suspension and alignment systems.
Additionally, you might experience vibrations or wobbling in the steering wheel, especially when turning or driving at higher speeds. This can be a sign that the wheel bearing has become loose or damaged. In severe cases, you may notice a decrease in handling and stability, making it more challenging to control the vehicle. Promptly addressing these symptoms can prevent more significant damage and ensure your vehicle remains safe to drive.
Tools and Materials Needed for Wheel Bearings Replacement
Before embarking on a wheel bearing replacement, it’s essential to gather all the necessary tools and materials. Having the right equipment on hand will make the process smoother and more efficient. Some of the basic tools you’ll need include a jack, jack stands, a lug wrench, a socket set, and a torque wrench. These tools will help you lift the vehicle, remove the wheels, and access the wheel bearings.
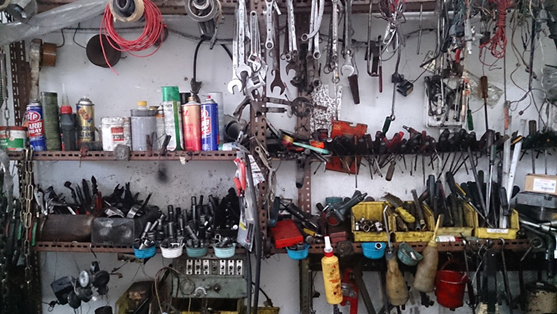
Automotive workshop tools and equipment. Photo: ProjectManhattan, CC BY-SA 3.0, via Wikimedia Commons.
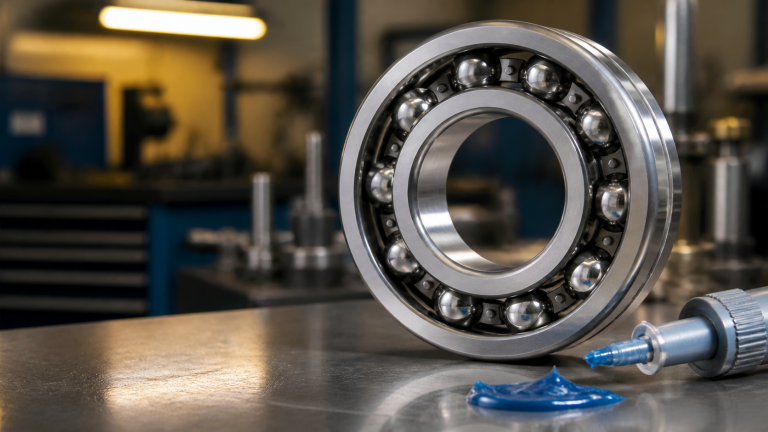
In addition to the basic tools, you may need a few specialized items such as a bearing puller, a hammer, and a punch. These tools are useful for removing the old bearings and installing the new ones. A bearing press can also be helpful, especially if you’re dealing with tightly fitted bearings. Additionally, having a grease gun and high-quality wheel bearing grease is crucial for ensuring the new bearings are adequately lubricated.
When it comes to materials, you’ll need replacement wheel bearings that are compatible with your vehicle’s make and model. It’s always a good idea to refer to your vehicle’s manual or consult with a professional to ensure you get the correct parts. Other materials you might need include new cotter pins, seals, and retaining clips, as these components often need to be replaced during the bearing replacement process. Having all the necessary tools and materials ready will help you complete the job efficiently and effectively.
Step-by-Step Guide to Replacing Wheel Bearings
Replacing wheel bearings is a detailed process that requires patience and attention to detail. Here’s a step-by-step guide to help you through the process:

A mechanic working on an exposed wheel hub assembly. Photo: Azorbli, CC BY-SA 4.0, via Wikimedia Commons.
Step 1: Preparation
Start by parking your vehicle on a flat, stable surface. Engage the parking brake and use wheel chocks to prevent the vehicle from rolling. Loosen the lug nuts on the wheel where you’ll be replacing the bearing but don’t remove them completely just yet.
Step 2: Lifting the Vehicle
Use a jack to lift the vehicle off the ground and secure it with jack stands. Remove the loosened lug nuts and take off the wheel to access the wheel assembly.
Step 3: Removing the Old Bearing
Remove the brake caliper and rotor to expose the wheel hub. Depending on your vehicle, you may need to remove additional components such as the axle nut and hub assembly. Use a bearing puller or a hammer and punch to remove the old bearing from the hub.
Step 4: Installing the New Bearing
Clean the hub thoroughly to remove any debris or old grease. Apply a thin layer of high-quality wheel bearing grease to the new bearing before installing it. Use a bearing press or a suitable tool to press the new bearing into the hub. Ensure it’s seated correctly and securely.
Step 5: Reassembling the Wheel Assembly
Reinstall the hub assembly, axle nut, brake rotor, and caliper. Make sure all components are tightened to the manufacturer’s specifications using a torque wrench. Replace any cotter pins or retaining clips as needed.
Step 6: Lowering the Vehicle
Carefully lower the vehicle back to the ground and tighten the lug nuts in a crisscross pattern to ensure even pressure. Double-check that all components are secure before taking your vehicle for a test drive.
Safety Precautions When Replacing Wheel Bearings
Safety should always be your top priority when performing any vehicle maintenance. When replacing wheel bearings, there are several precautions you should take to ensure a safe and successful job. First and foremost, always use appropriate personal protective equipment such as gloves and safety glasses. These will protect you from potential injuries caused by sharp tools or flying debris.

A vehicle supported on an axle stand with the wheel removed. Photo: Irvin calicut, CC BY-SA 3.0, via Wikimedia Commons.
Another crucial safety measure is to ensure your vehicle is securely lifted and supported. Using a jack and jack stands correctly is vital to prevent the vehicle from falling while you’re working underneath it. Never rely solely on a jack to support the vehicle; always use jack stands for added stability. Additionally, placing wheel chocks behind the remaining wheels can provide extra security and prevent the vehicle from rolling.
It’s also essential to follow the manufacturer’s torque specifications when tightening bolts and nuts. Over-tightening or under-tightening can lead to component failure and compromise the safety of your vehicle. Using a torque wrench ensures that you’re applying the correct amount of force to each fastener. Finally, always work in a well-ventilated area and keep your workspace organized to avoid accidents and ensure you have easy access to all the tools and materials you need.
Common Mistakes to Avoid During Wheel Bearings Replacement
Replacing wheel bearings can be a complex task, and making mistakes can lead to further issues and additional costs. One common mistake is not cleaning the hub and surrounding components thoroughly before installing the new bearing. Dirt and debris can cause premature wear and reduce the lifespan of the new bearing. Always take the time to clean the area properly and inspect for any signs of damage or corrosion.
Another frequent error is using the wrong type of grease or not applying enough grease to the new bearing. Wheel bearings require high-quality, high-temperature grease to function correctly. Inadequate lubrication can lead to increased friction, overheating, and ultimately, bearing failure. Ensure you use the recommended grease and apply it generously to the new bearing before installation.
Finally, improper installation techniques can result in a misaligned or damaged bearing. Using the correct tools and following the proper procedures is crucial for a successful replacement. For example, using a hammer to force the bearing into place can cause damage to the bearing and the hub. Instead, use a bearing press or a suitable tool to press the bearing into place evenly and securely. Taking the time to do the job correctly will save you from potential headaches and additional repairs down the line.
Cost of Wheel Bearings Replacement: DIY vs. Professional Help
The cost of replacing wheel bearings can vary significantly depending on whether you choose to do it yourself or seek professional help. DIY wheel bearing replacement can be more cost-effective, primarily if you already have the necessary tools and equipment. The cost of the replacement bearings themselves can range from $50 to $200, depending on your vehicle’s make and model. Additional costs may include purchasing specialized tools if you don’t already have them.
On the other hand, opting for professional help can provide peace of mind and ensure the job is done correctly. Professional mechanics have the experience and expertise to replace wheel bearings efficiently and accurately. The labor cost for wheel bearing replacement can range from $150 to $300 per wheel, depending on the complexity of the job and the mechanic’s rates. While this option may be more expensive, it can save you time and effort and reduce the risk of mistakes.
When deciding between DIY and professional help, consider your skill level, available tools, and the complexity of the job. If you’re confident in your abilities and have the necessary tools, DIY replacement can be a cost-effective option. However, if you’re unsure or prefer to leave it to the experts, investing in professional help can ensure a safe and successful wheel bearing replacement.
Maintenance Tips for Extending the Life of Your Wheel Bearings
Proper maintenance is essential for extending the life of your wheel bearings and ensuring your vehicle’s performance and safety. One of the most crucial maintenance tasks is regular inspection. Periodically check your wheel bearings for signs of wear or damage, such as unusual noises, vibrations, or uneven tire wear. Early detection of issues can prevent more severe problems and costly repairs.
Another important maintenance tip is to ensure your wheel bearings are adequately lubricated. Over time, the grease in your wheel bearings can break down or become contaminated, leading to increased friction and wear. Repacking your wheel bearings with fresh grease every 30,000 to 50,000 miles, or as recommended by your vehicle’s manufacturer, can help maintain their performance and longevity.
Additionally, maintaining proper wheel alignment and balance is essential for reducing stress on your wheel bearings. Misaligned or unbalanced wheels can cause uneven wear and increase the load on your bearings, leading to premature failure. Regularly checking and adjusting your wheel alignment and balance can help prevent these issues and extend the life of your wheel bearings. Following these maintenance tips can ensure your wheel bearings remain in good condition, providing a smoother and safer driving experience.
FAQs About Wheel Bearings Replacement
Q: How often should wheel bearings be replaced?
A: The lifespan of wheel bearings can vary depending on driving conditions and maintenance practices. On average, wheel bearings can last between 85,000 to 100,000 miles. However, it’s essential to inspect them regularly and replace them if you notice any signs of wear or damage.
Q: Can I drive with a bad wheel bearing?
A: Driving with a bad wheel bearing is not recommended as it can lead to further damage to your vehicle and pose a safety risk. A failing wheel bearing can cause increased friction, overheating, and even wheel detachment. If you suspect a bad wheel bearing, have it inspected and replaced promptly.
Q: Is wheel bearing replacement a DIY-friendly task?
A: Wheel bearing replacement can be a DIY-friendly task if you have the necessary tools, equipment, and mechanical skills. However, it can be complex and requires attention to detail. If you’re unsure or uncomfortable with the process, seeking professional help is a safer option.
Q: What happens if wheel bearings are not greased properly?
A: Improperly greased wheel bearings can lead to increased friction, overheating, and premature wear. This can result in bearing failure and potential damage to other components of your vehicle. Using high-quality grease and ensuring proper lubrication is crucial for the longevity and performance of your wheel bearings.
Q: Can wheel bearings affect fuel efficiency?
A: Yes, wheel bearings can affect fuel efficiency. Properly functioning wheel bearings reduce friction, allowing your wheels to spin more freely. This reduces the amount of work your engine has to do, leading to better fuel efficiency. Worn or damaged wheel bearings can increase friction and reduce fuel efficiency.
Conclusion: Ensuring Safe and Smooth Driving with Proper Wheel Bearings Care
Ensuring the proper care and maintenance of your wheel bearings is essential for safe and smooth driving. Understanding their importance and recognizing the signs of failure can help you address issues promptly and prevent more severe problems. Whether you choose to replace wheel bearings yourself or seek professional help, having the right tools, materials, and knowledge is crucial for a successful job.
By following the step-by-step guide and adhering to safety precautions, you can confidently replace your wheel bearings and improve your vehicle’s performance. Avoiding common mistakes and considering the cost of DIY vs. professional help can help you make informed decisions and ensure the best outcome for your vehicle. Additionally, regular maintenance and inspections can extend the life of your wheel bearings and contribute to a safer and more efficient driving experience.
In conclusion, taking the time to care for your wheel bearings can enhance your vehicle’s performance, safety, and longevity. By staying proactive and addressing issues as they arise, you can enjoy a smoother, more reliable ride and minimize the risk of costly repairs. Proper wheel bearing care is an investment in your vehicle’s overall health and your peace of mind on the road.
Image Credits
• Wheel hub assembly — Cschirp — CC BY 3.0 — https://commons.wikimedia.org/wiki/File:Wheel_hub_assembly.jpg
• Car hub cotter pin — Polyparadigm — CC BY-SA 3.0 — https://commons.wikimedia.org/wiki/File:Car_hub_cotter_pin.jpg
• Car workshop tools — ProjectManhattan — CC BY-SA 3.0 — https://commons.wikimedia.org/wiki/File:Car_workshop_tools.jpg
• Auto mechanic 01 — Azorbli — CC BY-SA 4.0 — https://commons.wikimedia.org/wiki/File:Auto_mechanic_01.jpg
• Disc brake car — Irvin calicut — CC BY-SA 3.0 — https://commons.wikimedia.org/wiki/File:Disc_brake_car.jpg